
DJI Air 3: Anti-collision Sensor Block - Diagnosis
Generated by ReeFix AI · Sources: technical and specialist documentation (see Sources section)
Revision of 06/07/2026
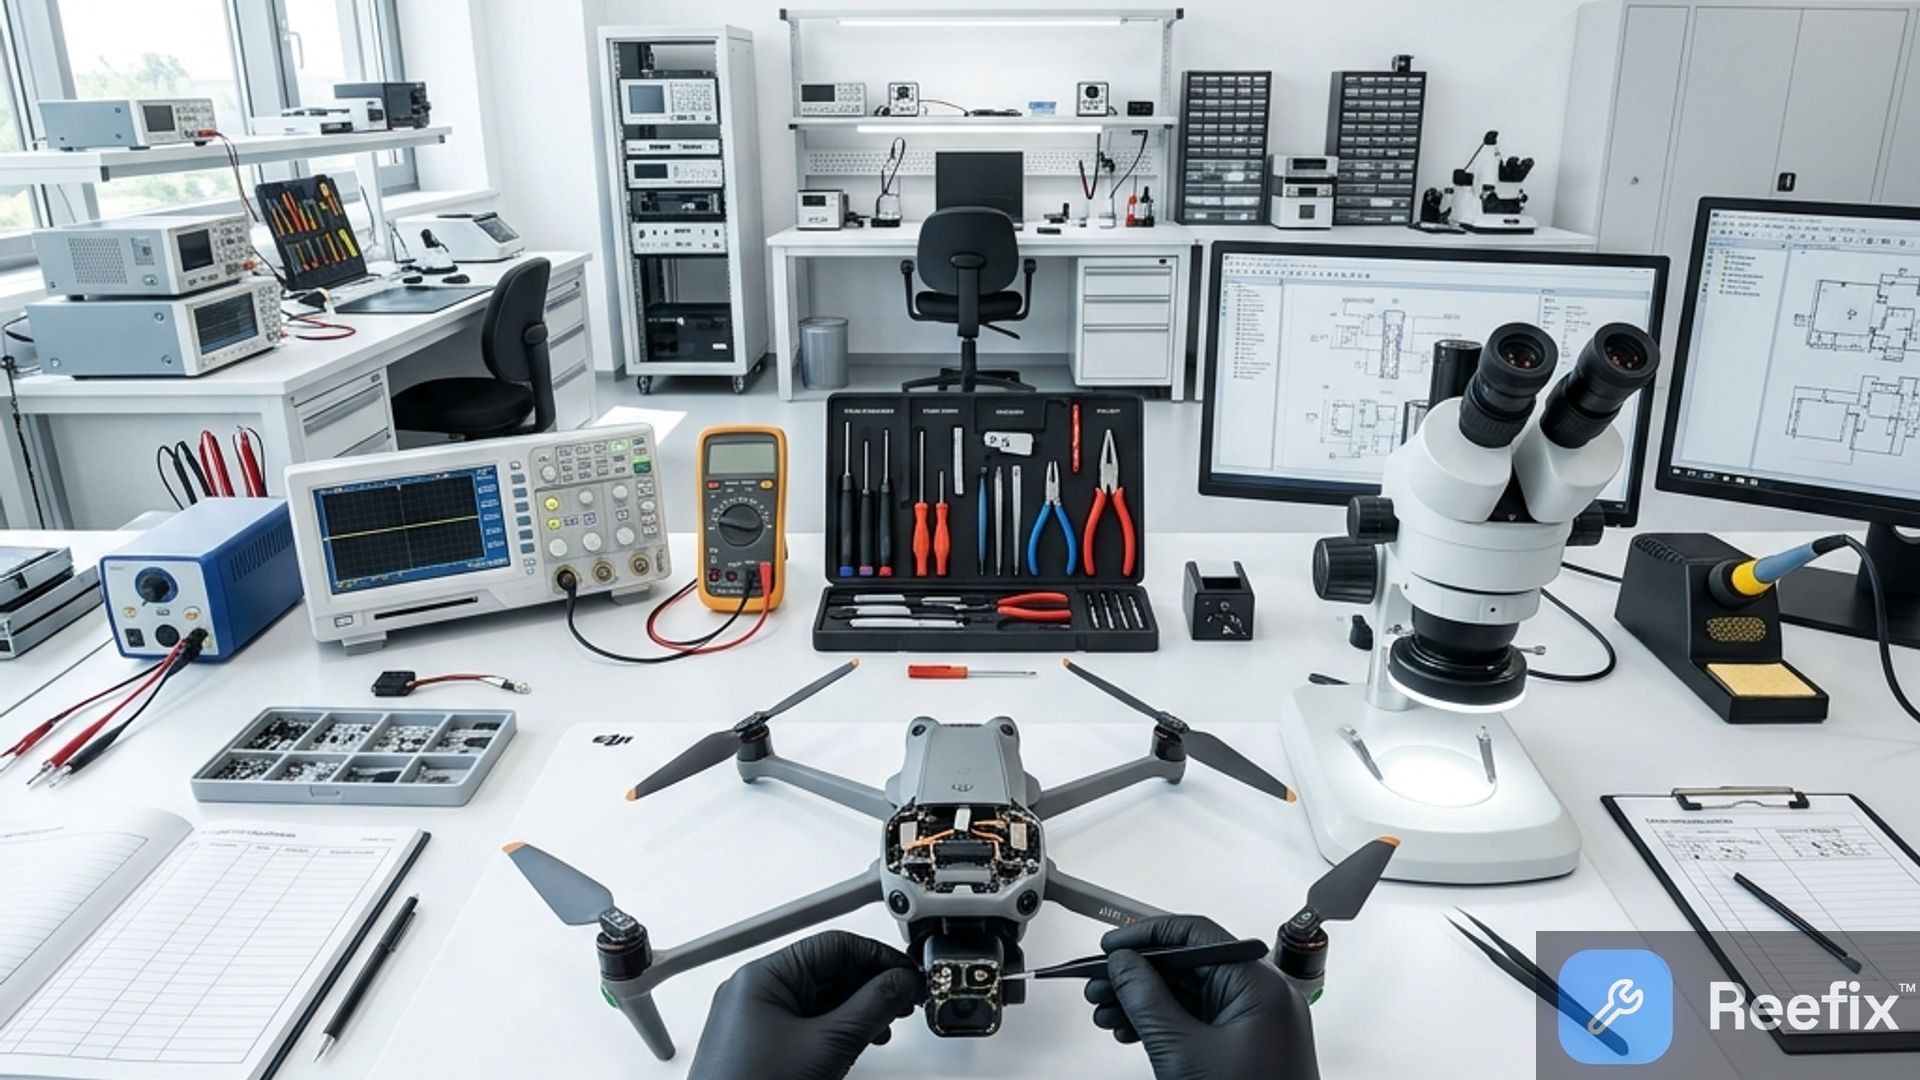
⚠️ SAFETY WARNING / BATTERY REMOVAL. Before any disassembly or internal inspection, always remove the Intelligent Flight Battery of the DJI Air 3 to eliminate electrical and short-circuit risks. Lithium Polymer (LiPo) drone batteries, if damaged or punctured during repair, pose a high risk of fire or explosion. The intervention requires maximum precision; the assistance of a specialized technician is recommended. ReeFix provides this diagnosis EXCLUSIVELY for educational and informational purposes.
TECHNICAL CHECKLIST
Quick checks (user):
- Visual lens inspection: Carefully check all surfaces of the visual sensors (front, rear, side) and the lower ToF sensor window. Look for dirt, fingerprints, oily smudges, or micro-scratches.
- Thorough cleaning: Use a Professional optical lens cleaning kit and 99.9% Isopropyl Alcohol with a microfiber cloth. For dust in recesses, use a dry compressed air can.
- Optimal environment flight test: After cleaning, perform a short hovering flight (2-3 meters high) in an open, well-lit area (diffused sunlight, not direct and grazing) with textured surfaces (e.g., grassy lawn, uneven pavement). This promotes auto-calibration.
Technical checks (professional):
- Firmware Refresh: Connect the DJI Air 3 to a PC with DJI Assistant 2 (Consumer Series) and perform a complete "Firmware Refresh" to rule out software corruption of calibration parameters. Note: unlike previous models (such as the Air 2S), the DJI Air 3 does not support manual visual calibration via PC screen on DJI Assistant 2; sensor calibration occurs fully automatically in flight or via the DJI Fly app.
- Flight log analysis (.DAT): Examine log files to identify specific error codes of the vision subsystem.
- Internal hardware inspection: Using a Precision Torx and hex screwdriver kit for drones, disassemble the casing to check the integrity and correct insertion of flat cables (MIPI CSI) and FPC connectors of the sensor modules. Measure reference supply voltages (1.8V / 2.8V).
- Physical misalignment verification: Inspect sensor modules for micro-displacements or structural damage resulting from impacts.
INSPECTION RESULT
Causes and Probabilities:
-
Stubborn dirt or greasy smudges on lenses (Probability: 60-70%)
- Signs: The error may be intermittent or worsen in certain light conditions. Often the dirt is almost invisible to the naked eye.
- Why: Contaminants such as fine dust, insect residues, or fingerprints refract light abnormally, preventing computer vision algorithms from correctly triangulating distances.
- Real micro-case: It often happens that after landing on wet grass or fine sand, the sensors get dirty almost imperceptibly, generating errors only at certain light angles.
- Estimated DIY cost: Low (15-30€ for cleaning kit).
-
Unsuitable environmental conditions for auto-calibration (Probability: 20-25%)
- Signs: The error occurs after flying indoors, with poor lighting (<15 lux), or over monochromatic, contrast-lacking surfaces (e.g., mirrored water, uniform snow, smooth asphalt).
- Why: The DJI Air 3 automatically calibrates its sensors in flight, but requires adequate light and visual textures to detect reference points.
- Typical user error: Attempting flights or calibrations in sub-optimal environments without considering the technological limits of the vision system.
-
Physical misalignment or damage to the sensor module (Probability: 5-10%)
- Signs: Persistent error even after cleaning and testing in an ideal environment, often preceded by a hard landing or a micro-impact.
- Why: Even a minimal displacement (fractions of a millimeter) of the relative position of the two cameras of a binocular sensor makes precise triangulation impossible.
- Action: Requires technician intervention for internal inspection and potential replacement of the DJI Air 3 vision sensor replacement module.
- Estimated technician cost: High (150-300€+ for replacement and specialized labor).
-
Defective flat cable/connector or corrupted firmware (Probability: Low, <5%)
- Signs: Sudden, persistent error, with no external signs of dirt or impact.
- Why: Vibrations can loosen FPC connectors or cause micro-fractures in cables. Firmware corruption can alter factory calibration parameters.
- Output for technician: "The DJI Air 3 presents a persistent block of the omnidirectional obstacle detection system with calibration/vision error. A thorough inspection of the binocular modules, verification of micro-scratches/deposits on lenses and lower ToF is required. If cleaning and 'Firmware Refresh' do not resolve, disassemble the casing to check the integrity of MIPI CSI flat cables and FPC connectors, excluding physical misalignments post-impact/vibrations. Verify 1.8V/2.8V voltages on filter capacitors adjacent to the modules."
Operational decision: If cleaning and flight tests in an optimal environment resolve the issue, you can repair it yourself (cost 15-30€); otherwise, contact a technician for "Firmware Refresh" and log analysis (cost 50-100€); if the error persists, an internal hardware inspection and potential sensor replacement will be necessary (cost 150-300€+), evaluating whether the cost justifies repair or device replacement.
If after component replacement you still encounter a DJI Air 3 sensor calibration error, remember that this model does not support manual calibration from PC via DJI Assistant 2. It will be necessary to start the automatic calibration procedure directly outdoors via the DJI Fly app, ensuring you fly in an open and well-lit space.
Why do the DJI Air 3 anti-collision sensors lock up?
DJI Air 3 sensor lock-up is often caused by dirt, scratched lenses, or firmware issues. Less frequent is internal hardware damage.
How can I tell if my drone's sensor lock-up can be resolved with cleaning?
Inspect the lenses: if after thorough cleaning and an outdoor flight test the error persists, the problem requires a technical diagnosis.
When should I contact a technician for drone sensor lock-up?
If cleaning, flight test, and firmware refresh do not resolve the issue, a technician is needed to inspect the flat cables and internal sensor modules.
This diagnostic report is generated using an artificial intelligence system (RAG) based on the aggregation of online data. No publication happens automatically: the rigorous multi-step moderation by Luca Chia (Electronic Expert) validates its logical coherence and technical plausibility regarding the described symptoms, confirming the correctness of the AI's diagnostic reasoning, without however constituting an absolute guarantee of resolution for individual cases.